Editor’s Note: If you’re looking to get even more stamping skills, check out our online workshop:
It will help you discover your hidden creativity and build your artistic skills through seven chapters featuring examples, videos, stories, exercises and lessons in techniques like drawing, hand lettering, mixed media collage and more. After you grow your skills, you’ll be guided through 31 prompts with examples. You’ll fill your sketchbook with drawings, collages and paintings as you uncover your talent and build your creative confidence.
Click the play button below to preview the workshop.
You don’t have to be an artist or know how to paint or draw to fill your sketchbook pages with interesting, personal and well-designed work. The exercises and prompts take anywhere from 10 to 30 minutes to complete and you’ll work at your own pace throughout the course so you don’t need a huge chunk of time to uncover your artistic genius and create works of art on paper that are not only beautiful but are also personal expressions of your unique experience.
2006 was a great year for me, craft wise. I had recently discovered a gem of a website that provided a platform for makers to sell their handmade goods (Etsy!), and I found myself more and more smitten with all of the wonderful craft blogs that were popping up. Though I had many friends through work and school, I didn’t know anyone else (personally) who stayed up well into the night working on a sewing project or trying to learn crochet by watching the same youtube video 20 times over. Reading craft blogs and browsing Etsy made me feel less strange. There were other people out there just like me, and I felt encouraged to take an active role in nurturing my creativity by learning new skills.
2006 was also the first time I had tried my hand at stamp carving, based on a tutorial I had seen on someone’s blog. And I failed heroically. I wanted to keep it simple by carving a silhouette of an elephant’s head but it turned out remarkably phallic, and I sliced open two of my fingers. My roommate thought it was hilarious, and for a week or two no piece of mail or random paper in the apartment was safe from unfortunate stamping.
It turns out that the right tools and carving rubber and a simple design make all the difference. I hope you enjoy this tutorial. It’s the one I wish I had read when I was first learning!
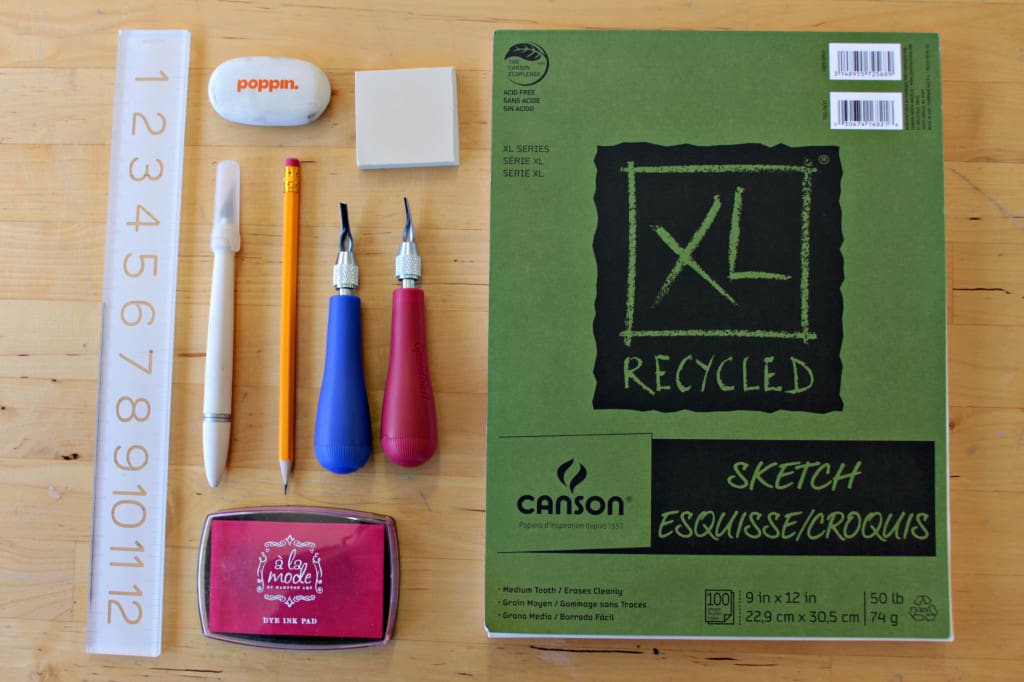
–Carving rubber (I used speedball’s speedy carve)
–Carving tool, with #1 and #5 blades (also speedball)
-Pencil
-Eraser
-Plain white paper
-Stamp pad – these come in a pack of assorted colors and are under $10!
-Craft knife – we love this one
-Ruler
-Wooden disc or block – these are great (optional)
-Strong adhesive – this is one of the toughest glues around! (optional)
-Muslin bag – these ones are perfect (optional)
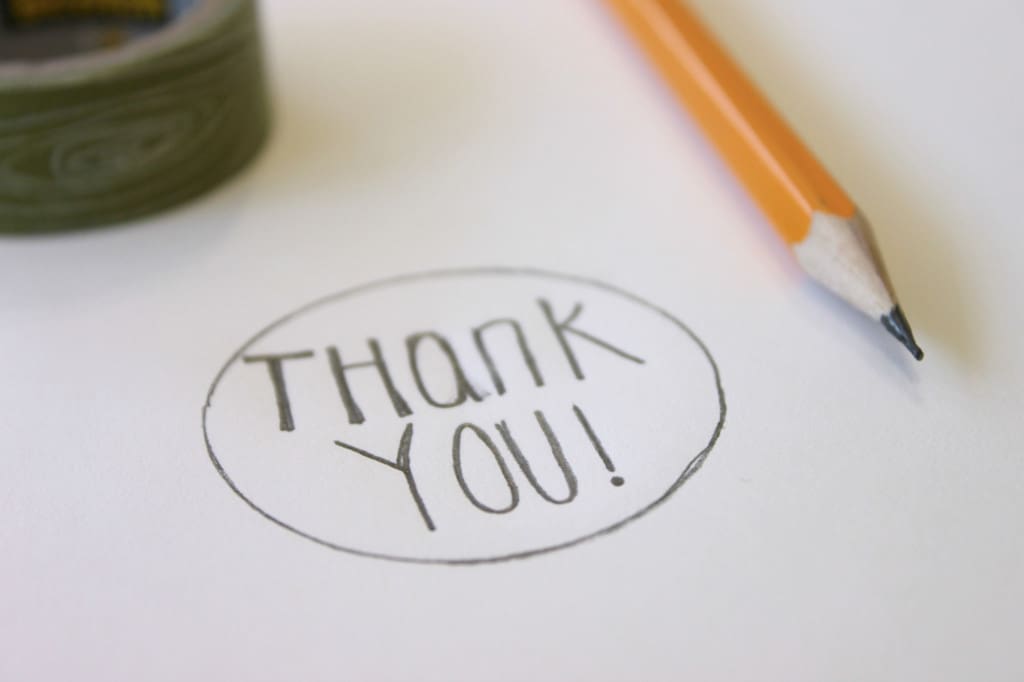
1. Draw your simple design on a piece of paper, and cut out. Use your ruler for approximate design dimension and use your craft knife to cut a piece of carving rubber. For example, my design was 1.75”, so I cut out a piece of rubber that was 2.”
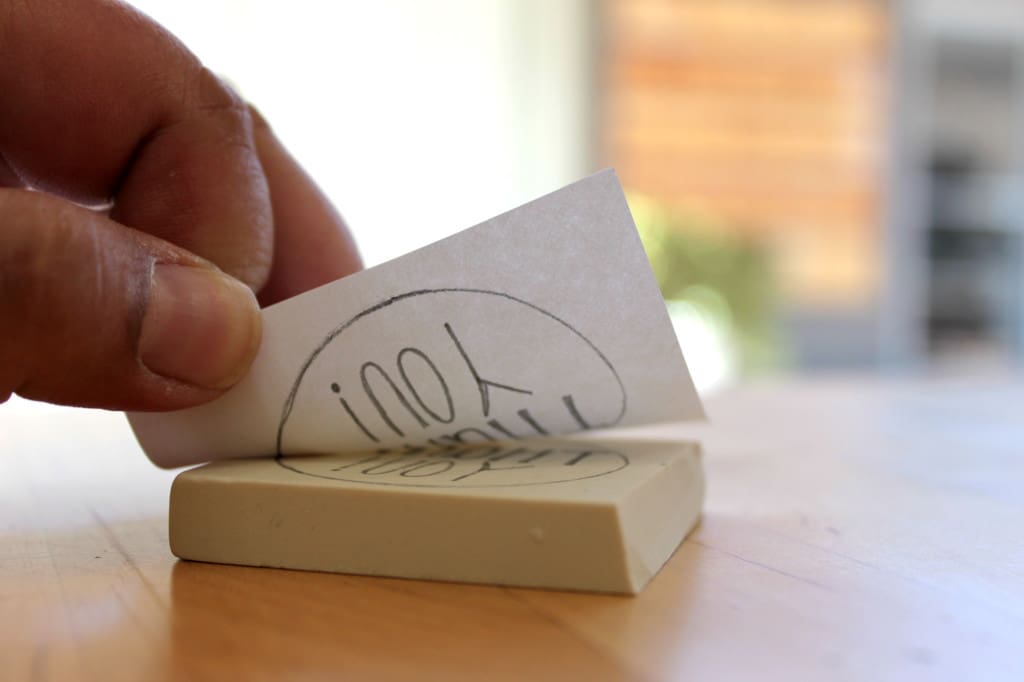
2. Place your design face down on to your carving rubber, and burnish the back of your design with your fingernail or an eraser. Carefully lift up on side of the paper to see how well it transferring, and keep burnishing as needed.
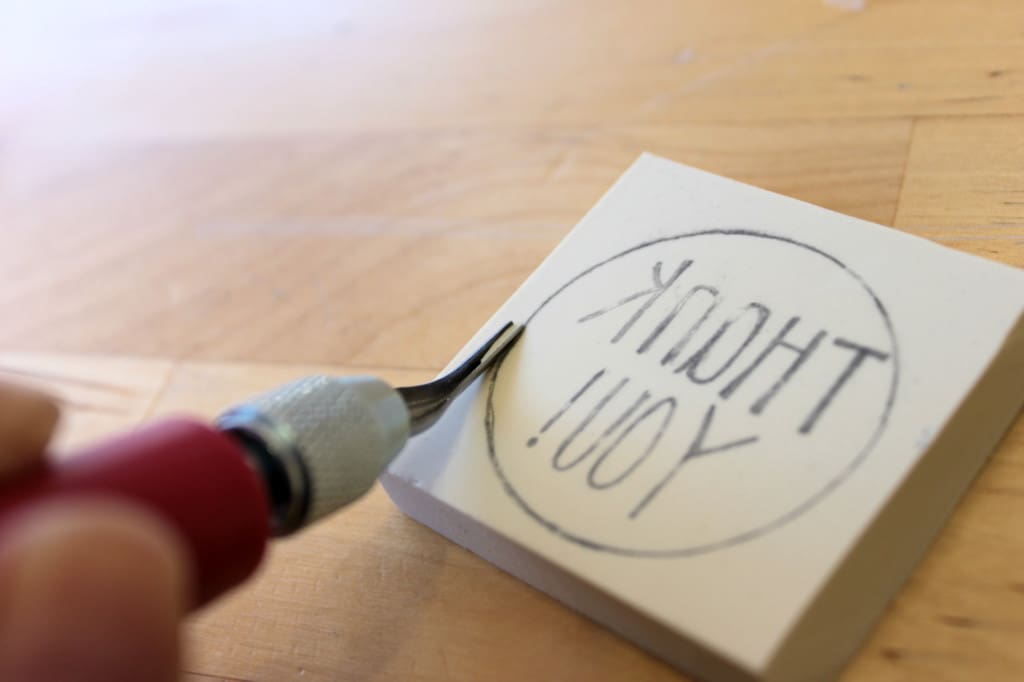
3. Once you’re happy with your transfer, put the #1 blade on to your carving tool and slowly cut along the outside of the transferred design. Keep in mind that we are cutting away the negative space (the part of your design that you do not want stamped on a surface).
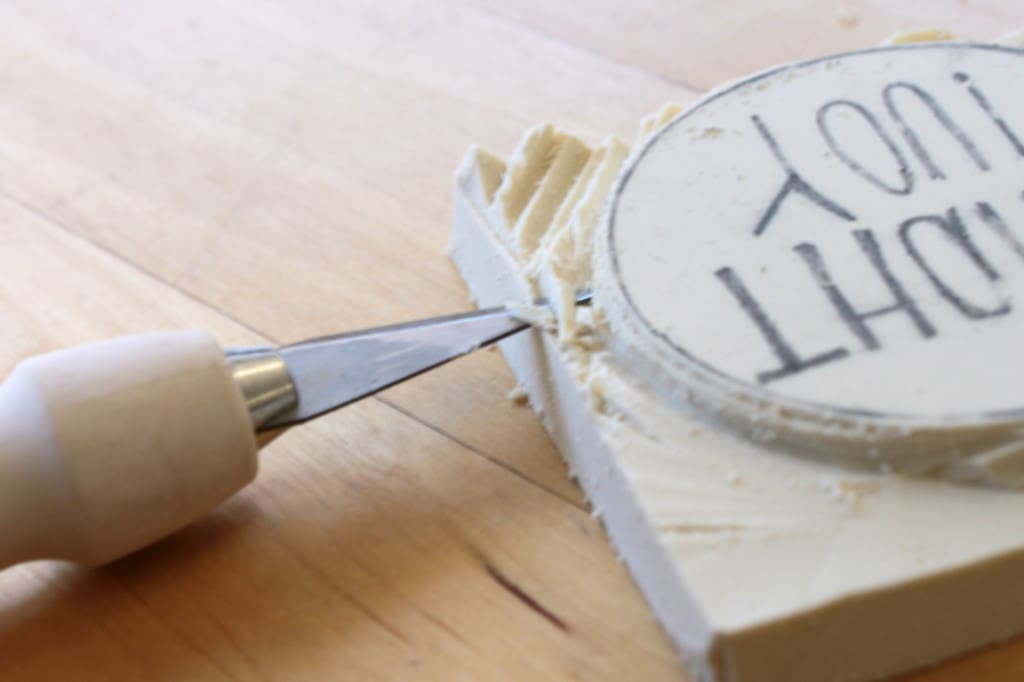
4. After you’ve cut along the outside of the design, place your #5 (larger) blade on to your carving tool and finish carving away all of the negative space around the outside of your design.
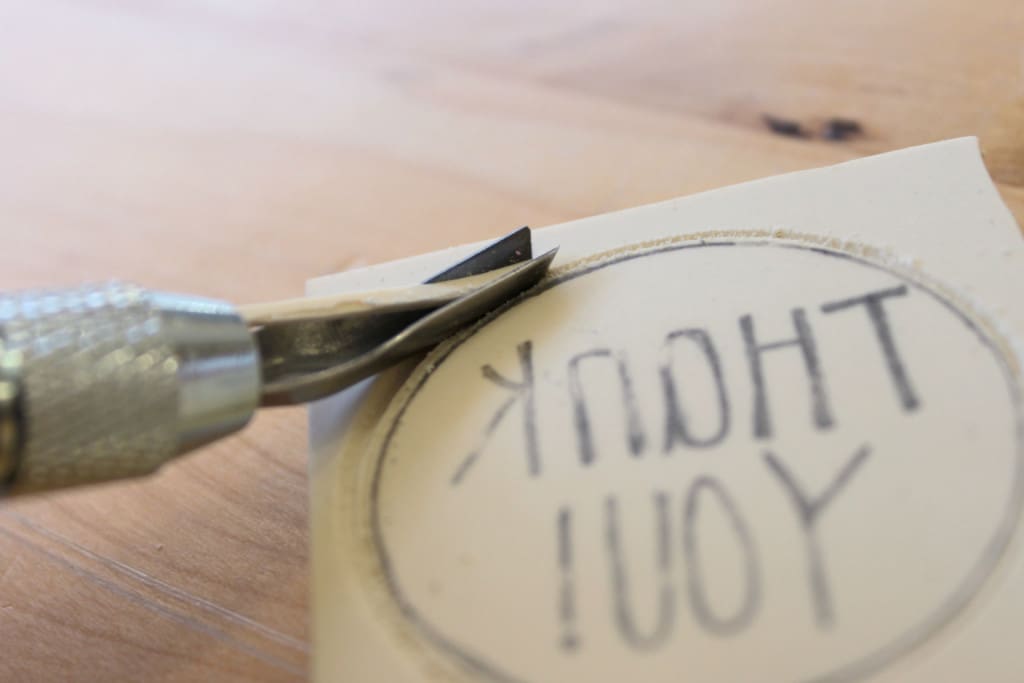
5. Please note that this next step is totally optional, but I believe that it leads to a cleaner, more professional finish to your stamp. Using a craft knife, gently even out your negative space with a shallow cut parallel to the surface of your carving rubber.
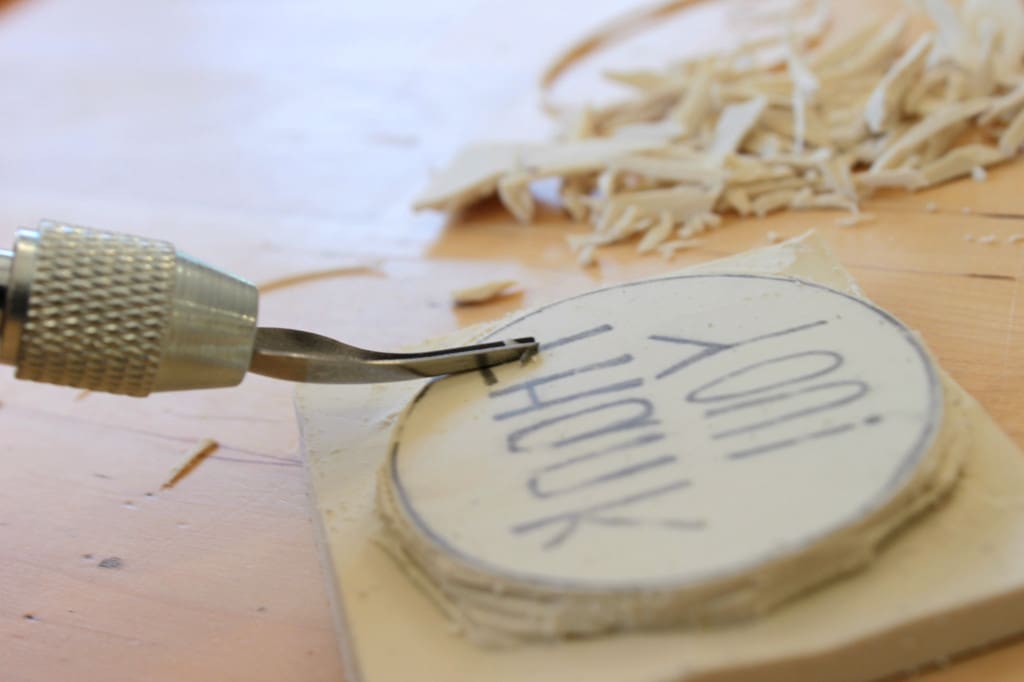
6. Next, place your #1 blade on to your cutting tool and carve out the letters. The lettering I incorporated in this design only required a single, shallow pass of the carving tool. Super easy!
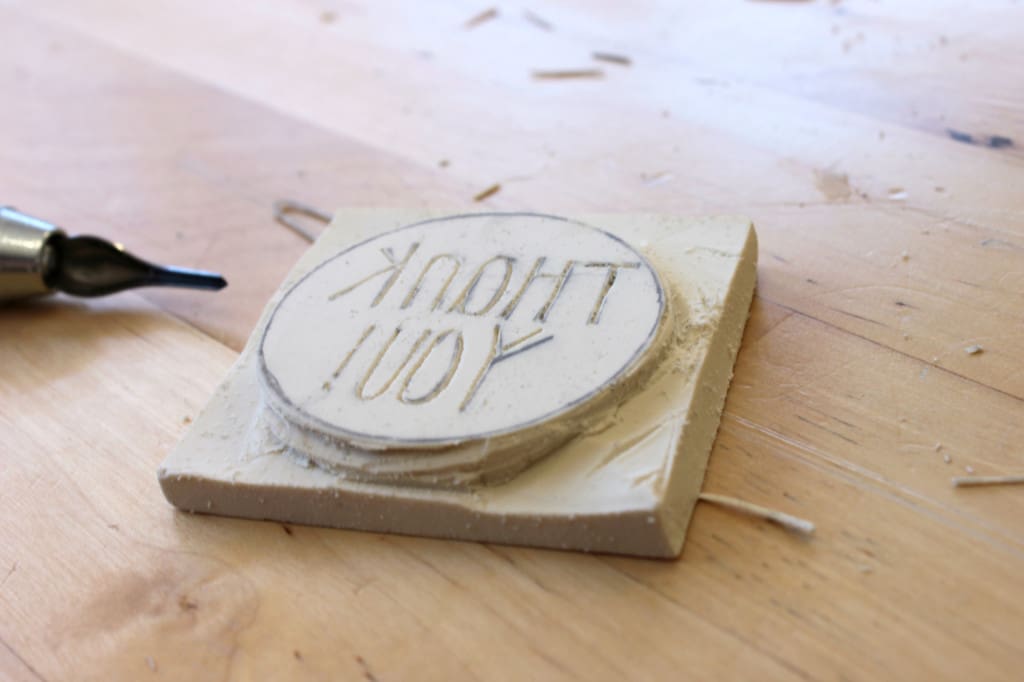
7. When you’ve finished carving your design, brush/blow off any rubber dust and ink your stamp with a basic dye ink pad to do a sample print. If any parts of your rubber showed up in your test print that you did not intend, carve away until you get a nice, clean print!
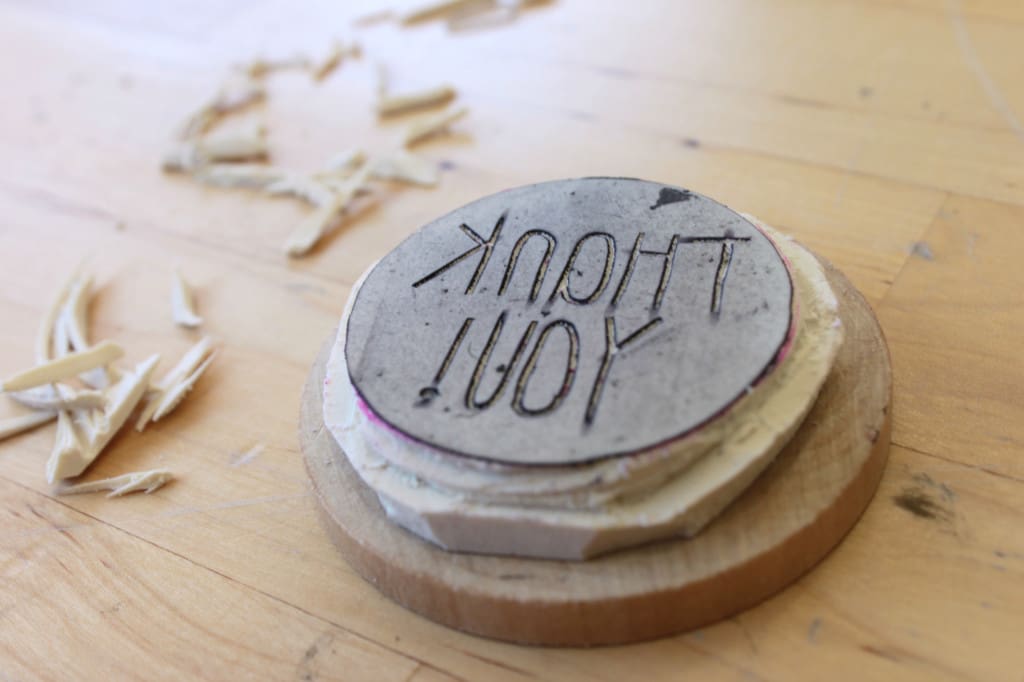
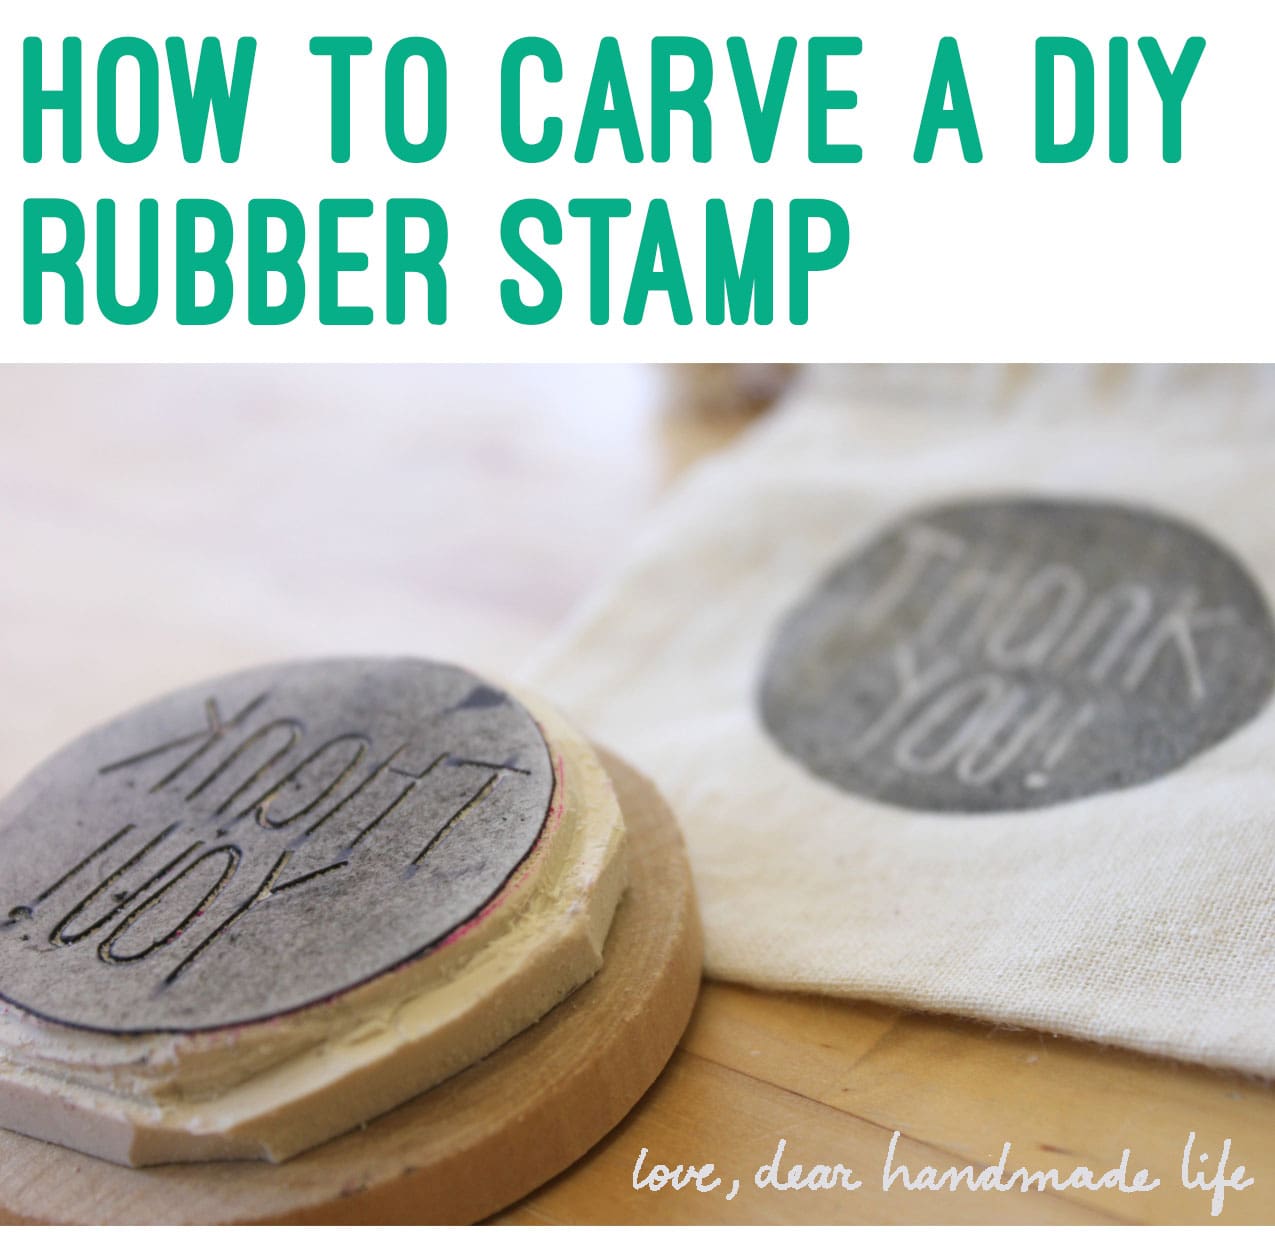
I like to mount my custom stamps to a wooden block. Not only does it look fantastic, but it provides even pressure when you press down on your stamp. To do this, use your craft knife to cut away any rubber that won’t fit on the surface of your wooden block (I had to make my square into a circle), and use a strong adhesive, like super glue, epoxy or E6000. Don’t forget to stamp the top of your wooden surface before you glue down your rubber!
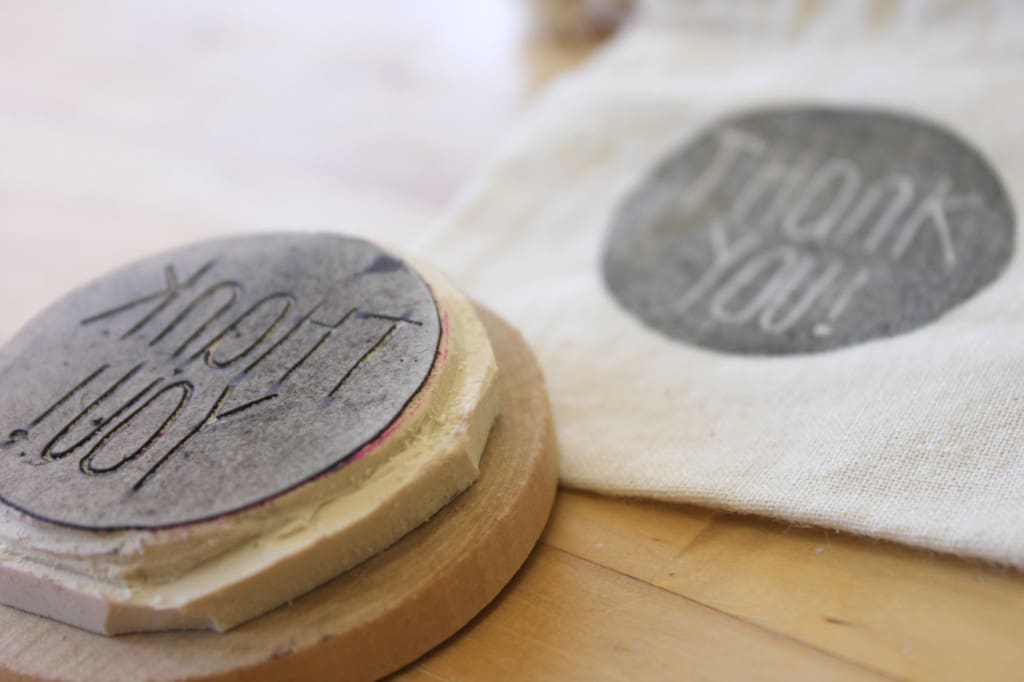
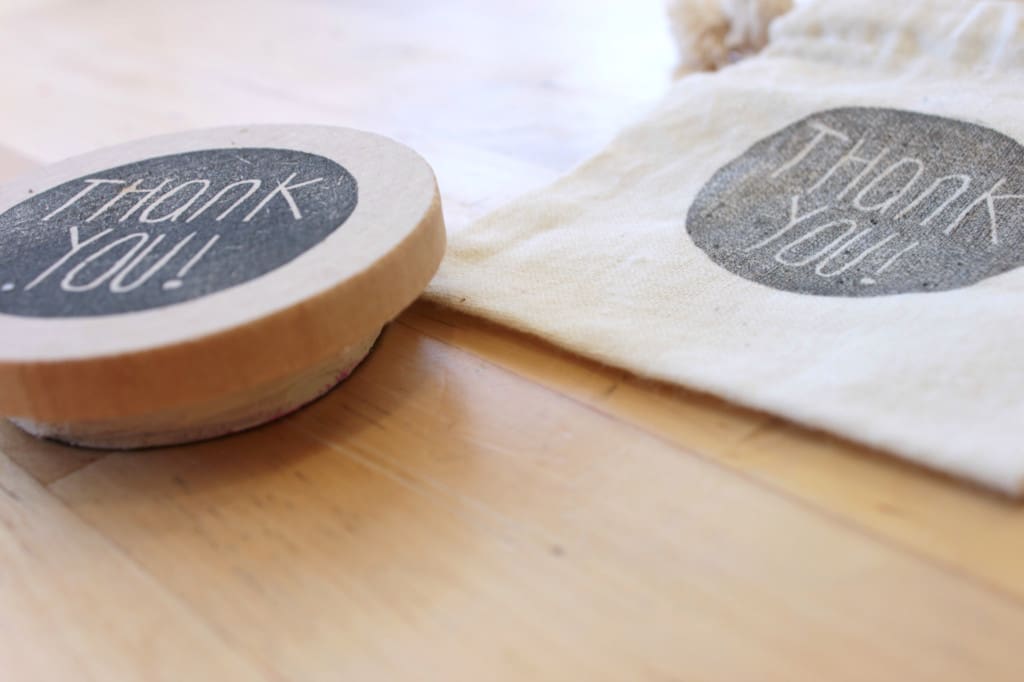
Wouldn’t this make the cutest gift?!

Helpful Hints:
-Making shallow cuts allows for more control over the cutting tool, especially for beginners. Make sure that you are cutting at less than a 45 degree angle.
-Always cut away from yourself. Seems obvious, but, you know!
-Navigate curves easily by rotating your rubber and not your cutting tool while carving. It sometimes helps to place a piece of paper underneath your carving rubber to make turning super easy.
-For a beginner, I recommend sticking with a simple word or short phrase inside of a basic geometric shape, like the design above.